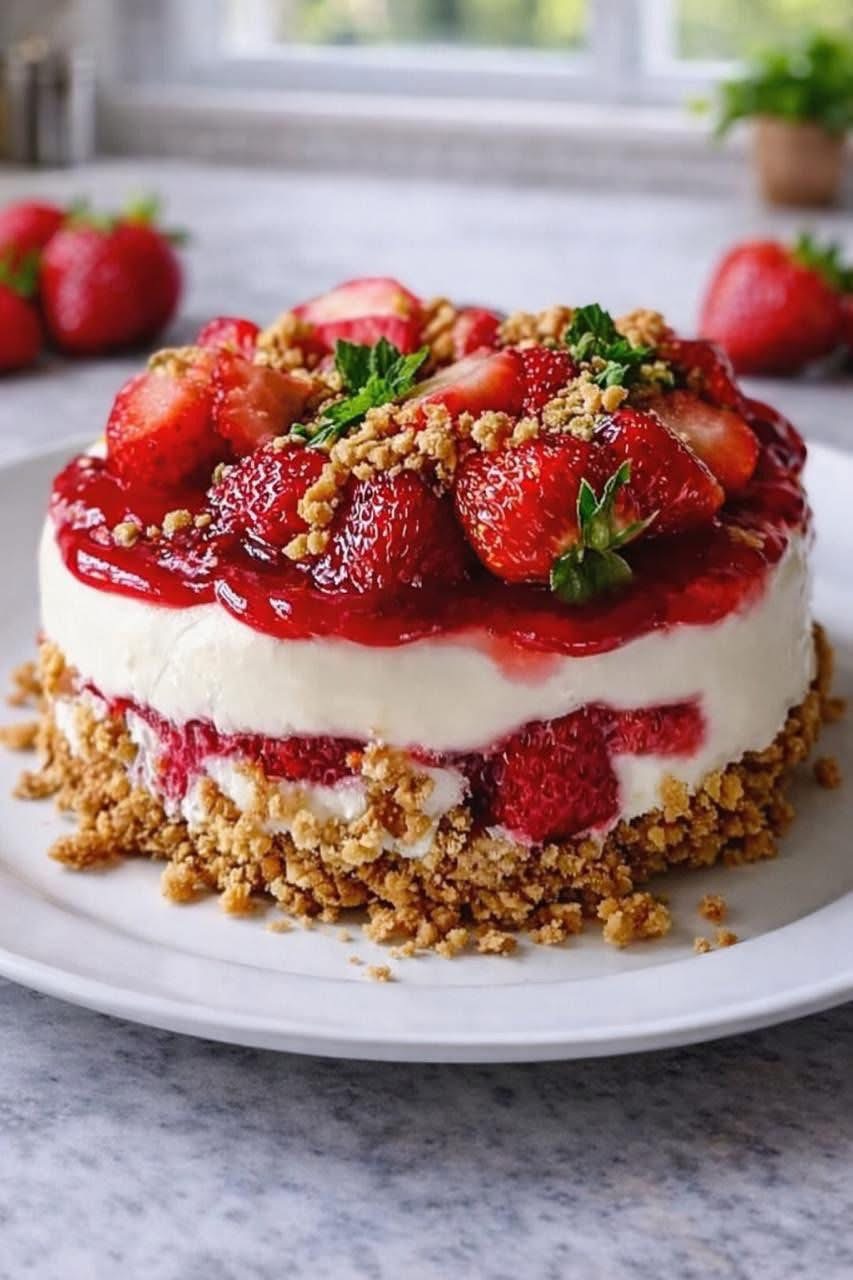
This no-bake strawberry crunch cheesecake is creamy, fruity, sweet, and very hard to stop eating.
It has a buttery crumb base, a soft cheesecake layer, fresh strawberries, and that crunchy topping that makes the whole dessert feel extra special.
It looks beautiful on the table.
But it is actually very easy to make.
That is always a good combination.
Why You’ll Love It
This dessert needs no oven.
It feels rich but fresh.
The strawberries make it bright.
The cheesecake layer stays smooth and creamy.
And the crunchy crumbs around the base and on top give it that perfect contrast.
It is the kind of dessert that works for family meals, weekends, birthdays, or anytime you want something pretty without too much work.
Ingredients
For the crust
- 2 cups crushed biscuits or graham cracker crumbs
- 6 tablespoons melted butter
For the cheesecake filling
- 8 oz cream cheese, softened
- 1/2 cup sour cream
- 1/2 cup powdered sugar
- 1 teaspoon vanilla extract
- 1 cup heavy whipping cream
For the strawberry layer
- 2 cups fresh strawberries
- 1/4 cup sugar
- 1 tablespoon lemon juice, optional
For the crunch topping
- 1 cup crushed cookies or biscuits
- 2 tablespoons melted butter
Optional
- extra strawberries for topping
- mint leaves for garnish
Start the Strawberries
Wash the strawberries well.
Hull them and cut them into small pieces.
Place them in a saucepan with the sugar.
If you want a brighter flavor, add the lemon juice too.
Cook over medium heat for about 5 to 8 minutes.
Stir gently as the strawberries soften and release their juices.
You want them soft and glossy, not completely cooked down into jam.
Once ready, remove from the heat and let them cool fully.
This part gives the dessert that fresh strawberry layer and the lovely red topping.
Make the Crust
In a bowl, mix the crushed biscuits with the melted butter.
Stir until all the crumbs are evenly coated.
The texture should feel like wet sand.
Press the mixture into the bottom of your serving dish or springform pan.
Use the back of a spoon or a flat glass to press it down firmly.
Place it in the refrigerator while you make the filling.
That helps it set and hold better later.
Make the Filling
In a large bowl, beat the softened cream cheese until smooth.
Add the sour cream, powdered sugar, and vanilla extract.
Mix until creamy and lump-free.
This step matters.
A smooth base gives you a much nicer cheesecake texture later.
In a second bowl, whip the heavy cream until soft peaks form.
Then gently fold the whipped cream into the cream cheese mixture.
Do this slowly.
You want to keep the filling light and airy.
Once combined, the filling should be thick, creamy, and very smooth.
Assemble the Cheesecake
Take the chilled crust from the fridge.
Spread about half of the cheesecake filling over the crust.
Smooth it gently.
Add a layer of cooled strawberries over that.
You can spoon them evenly across the top.
Then spread the remaining cheesecake filling over the strawberries.
Smooth the top again.
At this point, it already looks very good.
But the final topping makes it even better.
Add the Crunch
In a small bowl, mix the extra crushed cookies or biscuits with the melted butter.
Sprinkle some of this around the edges or over parts of the top.
You can also press a little around the sides if you want that crunchy outer look like in the photo.
Add extra strawberries on top.
Spoon over a little of the strawberry syrup if you have any left.
Finish with a little more crunch topping and mint leaves if using.
That final step makes the dessert look much more special without much effort.
Chill
Place the cheesecake in the refrigerator for at least 4 hours.
If you can leave it overnight, even better.
This helps the filling firm up and gives cleaner slices.
It also makes the flavor even better.
This is definitely one of those desserts that rewards patience.
Even though waiting is annoying.
Texture and Flavor
This dessert is smooth, creamy, and fresh.
The cheesecake layer is soft and rich.
The strawberry layer adds sweetness and a little brightness.
The crumb base keeps everything grounded.
And the crunch topping gives every bite a little extra texture.
That is what makes it so satisfying.
It is not just soft all the way through.
It has contrast.
And that makes a big difference.
Tips for the Best Result
Make sure the cream cheese is soft before mixing.
Cold cream cheese can leave lumps.
Cool the strawberry mixture fully before layering.
Warm fruit can soften the cheesecake filling too much.
Whip the cream just until soft peaks.
Do not overwhip it.
Press the crust firmly so it holds together better when sliced.
And always chill long enough before serving.
That gives the cleanest and nicest result.
Easy Variations
You can use only strawberries, or add raspberries too.
You can use vanilla cookies for a sweeter crumb base.
You can add a little lemon zest to the filling for extra freshness.
You can make it in cups instead of one full cake.
That works very well for parties.
You can also add white chocolate shavings on top if you want a richer version.
The base recipe is flexible, which makes it very useful.
Serving Ideas
Serve this cheesecake cold.
That is when it tastes best.
It is great after lunch, after dinner, or as a weekend dessert.
Because it is no-bake, it is especially nice in warmer weather.
It also looks beautiful on a dessert table.
And yes, it is exactly the kind of dessert people ask about after the first bite.
Storage
Keep it covered in the refrigerator for up to 3 days.
It stays creamy and fresh.
For the best look, add some of the final crunchy topping just before serving.
That helps keep it crisp.
Final Thoughts
This strawberry crunch cheesecake is easy, creamy, pretty, and absolutely worth making.
It gives you fresh fruit, rich filling, and crunchy texture all in one dessert.
It looks impressive.
It tastes even better.
And because there is no baking involved, it feels much easier than it looks.
That is exactly the kind of recipe worth saving.