Of course! Crispy Honey Garlic Chicken is a fantastic dish that rivals any takeout. It features incredibly crispy, golden-brown chicken pieces coated in a sticky, sweet, salty, and aromatic honey garlic sauce.
Here is a detailed, recipe-style breakdown to ensure your success.
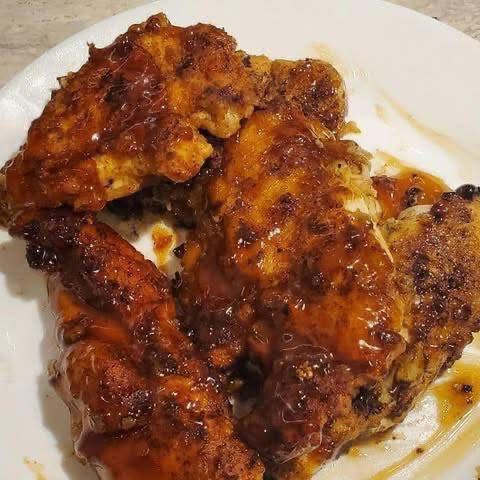
Crispy Honey Garlic Chicken
This recipe breaks down into three key parts: marinating the chicken, creating the crispy coating, and making the signature sauce.
—
Ingredients:
For the Chicken & Marinade:
· 1.5 lbs (700g) boneless, skinless chicken breasts or thighs, cut into 1-inch cubes
· 1 large egg
· ¾ cup milk or buttermilk
· ½ tsp salt
· ¼ tsp black pepper
For the Crispy Coating:
· 1 cup cornstarch (this is the secret to an ultra-crispy crust!)
· ½ cup all-purpose flour
· 1 tsp baking powder (adds extra lightness)
· 1 tsp garlic powder
· 1 tsp salt
· Oil for frying (vegetable, canola, or peanut oil work best)
For the Honey Garlic Sauce:
· ⅓ cup honey
· ¼ cup soy sauce (low-sodium preferred)
· 3-4 cloves garlic, minced (about 1 tbsp)
· 1 tbsp rice vinegar or apple cider vinegar
· 1 tbsp sriracha or chili garlic paste (optional, for heat)
· 1 tbsp cornstarch mixed with 2 tbsp cold water (slurry, for thickening)
· 1 tbsp sesame oil (for finishing)
· Toasted sesame seeds and sliced green onions for garnish
—
Instructions:
1. Marinate the Chicken:
· In a medium bowl, whisk together the egg, milk, salt, and pepper.
· Add the cubed chicken pieces, ensuring they are fully submerged. Cover and refrigerate for at least 30 minutes (or up to 4 hours).
2. Prepare the Coating & Sauce:
· In a separate shallow bowl or plate, whisk together the cornstarch, flour, baking powder, garlic powder, and salt.
· In a small saucepan, combine the honey, soy sauce, minced garlic, and vinegar (and sriracha if using). Do not heat it yet. Have your cornstarch slurry ready.
3. Coat the Chicken:
· Remove the chicken from the marinade, letting any excess drip off.
· Dredge each piece thoroughly in the cornstarch/flour mixture, pressing firmly to ensure a complete, clumpy coating. This clumpiness creates fantastic texture. Place them on a plate as you go.
4. Fry the Chicken:
· Heat about 1-1.5 inches of oil in a heavy-bottomed pot, Dutch oven, or wok to 350°F (175°C).*
· Working in batches to avoid overcrowding, carefully add the chicken pieces to the hot oil. Fry for 3-4 minutes, turning occasionally, until golden brown, crispy, and cooked through.
· Use a slotted spoon or spider strainer to remove the chicken and place it on a wire rack set over a baking sheet. This keeps it crispy. Repeat with remaining chicken.
Pro Tip: If you don’t have a thermometer, test the oil by dropping a small piece of the coating into it. If it sizzles immediately and floats to the top, the oil is ready.
5. Make the Sauce:
· While the last batch of chicken is frying, start your sauce. Heat the saucepan with the sauce ingredients over medium heat, whisking until it simmers.
· Give your cornstarch slurry a quick stir (as it separates) and slowly whisk it into the simmering sauce.
· Continue whisking for about 1 minute until the sauce thickens and becomes glossy.
· Remove from heat and stir in the sesame oil.
6. Combine and Serve:
· Place all the crispy chicken pieces in a large bowl. Pour the hot honey garlic sauce over the top.
· Using tongs or a spatula, toss gently and quickly until every piece is evenly coated. Serve immediately!
· Garnish with toasted sesame seeds and sliced green onions. Perfect served over steamed jasmine rice or with a side of steamed broccoli.
—
Chef’s Notes & Tips for Success:
· The Cornstarch is Key: Using cornstarch (not just flour) in the dry coating is the number one secret to achieving that light, shatteringly crispy texture found in restaurants.
· Don’t Skip the Press: When coating the chicken, press the dry mixture onto the chicken firmly. Those little clumps and shags become delicious, crispy bits.
· Avoid Soggy Chicken: The enemy of crispiness is steam. Frying in batches prevents the oil temperature from dropping too much (which causes oily, soggy chicken). Placing the fried chicken on a wire rack instead of a paper towel-lined plate also prevents the bottom from getting soft.
· Toss Quickly: Only toss the chicken with the sauce right before you are ready to serve. This preserves the crispy texture for as long as possible.
· Baking Option (Air Fryer Friendly!): For a slightly healthier version, you can bake or air fry the coated chicken.
· Bake: Preheat oven to 400°F (200°C). Place coated chicken on a parchment-lined baking sheet sprayed with oil. Spray the top of the chicken generously with cooking spray. Bake for 15-20 minutes, flipping halfway, until cooked through and crispy.
· Air Fry: Preheat air fryer to 400°F (200°C). Place coated chicken in the basket in a single layer (work in batches). Spray generously with cooking spray. Cook for 10-12 minutes, shaking halfway through, until crispy and cooked through.
· Then, toss with the sauce as directed.
Enjoy your homemade masterpiece! It’s sure to become a family favorite.