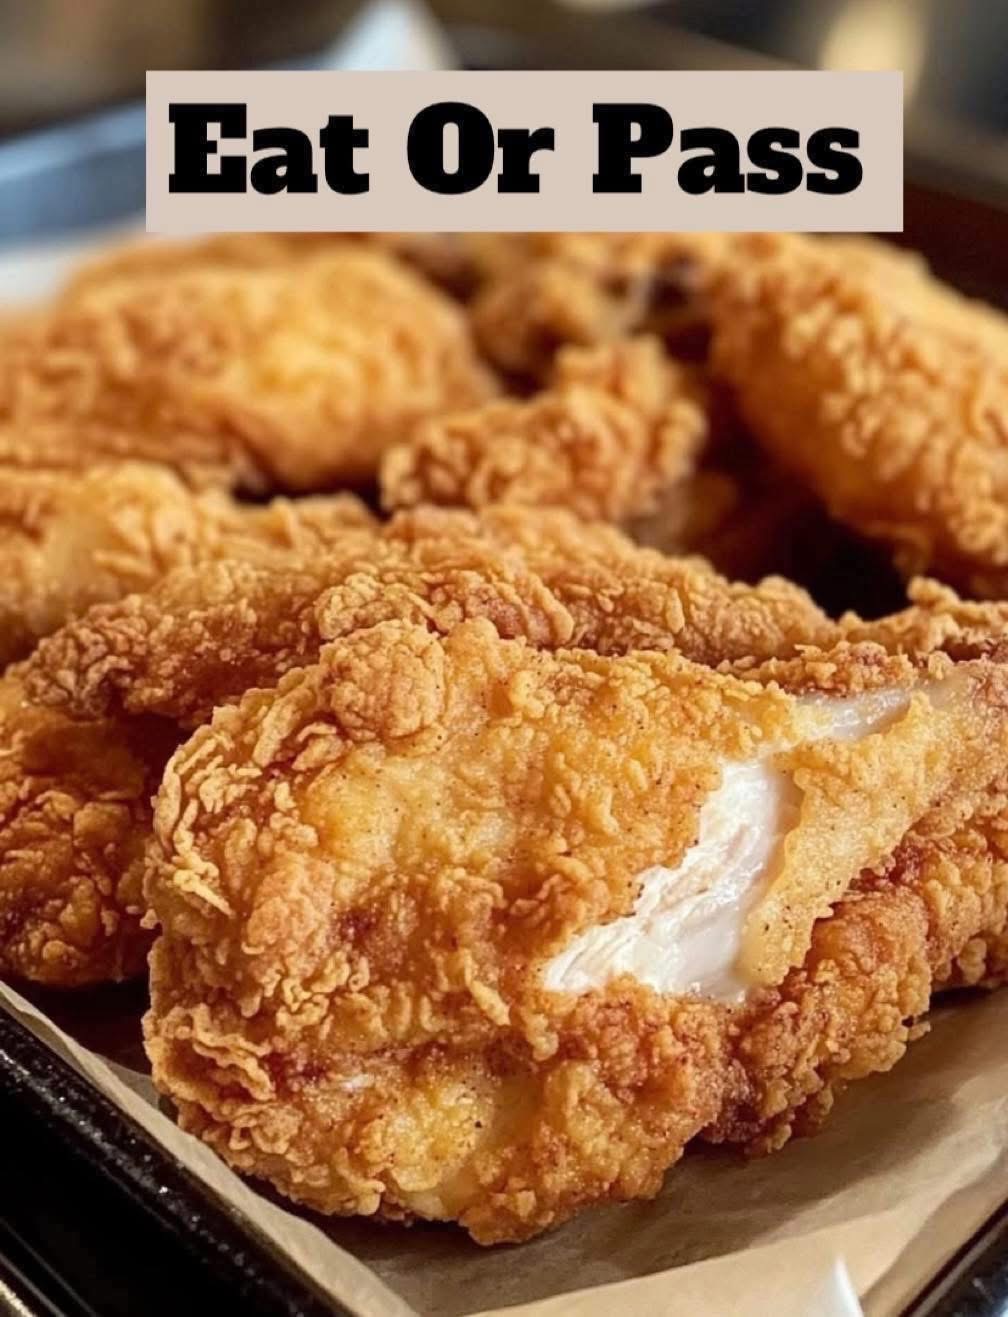
Of course! “Baked Fried Chicken” is the holy grail of comfort food: all the crispy, flavorful crunch of fried chicken with far less mess, oil, and guilt. The goal is to mimic the deep-fried texture using your oven.
Here’s a comprehensive guide to making incredibly crispy oven-baked “fried” chicken.
The Secret to Crispy Oven-Baked Chicken
The key isn’t a single step, but a combination of techniques:
1. A Flavorful, Adhesive Coating: A two-step dredge (like classic frying).
2. Fat for Frying: Incorporating oil or melted butter into the coating or onto the chicken.
3. High, Even Heat: A very hot oven and a wire rack to allow air to circulate all around the chicken, preventing a soggy bottom.
—
Ultra-Crispy Oven-Baked “Fried” Chicken Recipe
This method uses a classic buttermilk soak and a double-dredge for maximum crunch.
Ingredients:
For the Chicken & Marinade:
· 3-4 lbs chicken pieces (drumsticks, thighs, and breasts work best; use skin-on for ultimate crispiness, skinless for leaner)
· 2 cups buttermilk
· 1 tbsp hot sauce (optional, but great for flavor)
· 1 tsp salt
· ½ tsp black pepper
For the Crispy Coating:
· 1 ½ cups all-purpose flour
· ⅓ cup cornstarch (the secret for extra crispiness)
· 1 tbsp paprika
· 2 tsp garlic powder
· 2 tsp onion powder
· 1 tsp cayenne pepper (adjust for heat)
· 1 tbsp kosher salt
· 2 tsp black pepper
· 1 tsp baking powder (another crispiness secret!)
For Topping:
· Cooking spray, melted butter, or olive oil (essential for browning)
Instructions:
1. Marinate: In a large bowl, whisk together buttermilk, hot sauce, salt, and pepper. Add the chicken pieces, ensuring they are fully submerged. Cover and refrigerate for at least 4 hours, or ideally overnight.
2. Prep Coating and Pan: Preheat your oven to 400°F (200°C). Line a large, rimmed baking sheet with aluminum foil (for easy cleanup) and place a wire rack on top. Spray the rack generously with cooking spray.
3. Make the Dredge: In another large bowl or shallow dish, whisk together all the dry coating ingredients: flour, cornstarch, paprika, garlic powder, onion powder, cayenne, salt, pepper, and baking powder.
4. Dredge the Chicken: Remove one piece of chicken from the buttermilk, letting the excess drip off. Dredge it thoroughly in the flour mixture, pressing firmly to make the coating adhere. For an extra-thick crust, dip it back into the buttermilk and then into the flour for a second time, pressing again. Shake off any excess.
5. Place on Rack: Place the coated chicken pieces on the prepared wire rack, leaving space between them for air flow.
6. The Key Step – Add Fat: This is non-negotiable. You must add fat to replace the frying oil. Either:
· Generously spray the top and sides of the chicken with cooking spray, or
· Carefully brush each piece with melted butter or olive oil. This will make the coating brown and become crispy.
7. Bake: Bake for 45-55 minutes. DO NOT FLIP. The time will depend on the size and cut of the chicken. Chicken is done when the internal temperature reaches 165°F (74°C) and the coating is deep golden brown and crispy.
8. Rest and Serve: Let the chicken rest on the rack for 5-10 minutes before serving. This helps the crust set.
—
Critical Tips for Success
· The Wire Rack is Mandatory: Baking directly on a sheet pan will steam the bottom of the chicken, making it soft. The rack allows heat to circulate perfectly.
· Press the Coating On: Don’t just lightly dust the chicken. Press the flour mixture onto the wet chicken to create a solid, craggy layer that will become the crust.
· Don’t Skip the Fat Spray: The oil is what fries the coating in the hot oven. Without it, the chicken will be pale and taste baked, not fried.
· Patience is a Virtue: Let the chicken rest after baking. The crust will become even crispier as it cools slightly.
· For Boneless Chicken: Use chicken breasts or thighs cut into tenders. Reduce the baking time to 20-25 minutes.
—
Variations & Flavor Ideas
· Nashville Hot: After baking, brush with a mixture of melted butter, cayenne pepper, brown sugar, and paprika.
· Lemon-Herb: Add 2 tbsp of dried herbs (like thyme, oregano, parsley) and the zest of one lemon to the flour mixture.
· “KFC” Style: Add a pinch of cloves, allspice, and more black pepper to the flour for a classic savory flavor.
· Gluten-Free: Substitute the all-purpose flour with a 1:1 gluten-free flour blend and ensure your baking powder is GF.
—
FAQ
Q: Why is my baked fried chicken not crispy? A: The most common reasons are: not using a wire rack, not adding oil/spray before baking, overcrowding the pan, or an oven that isn’t hot enough.
Q: Can I use panko breadcrumbs? A: Yes! For a different texture, do a standard flour dredge, then dip in buttermilk again, and then press into panko breadcrumbs before placing on the rack and spraying with oil.
Q: How do I store and reheat leftovers? A: Store in an airtight container in the refrigerator for up to 3 days. Reheat in the oven or an air fryer (at 375°F for 10-15 minutes) to restore crispiness. The microwave will make it soft and rubbery.
Q: Is this really as good as deep-fried? A: It’s different, but excellent in its own right. It delivers that satisfying crunchy, seasoned coating and juicy interior without the greasiness. It’s the best possible version of baked chicken that aims to taste fried.